
Build a 4000 PSI Pressure Washer
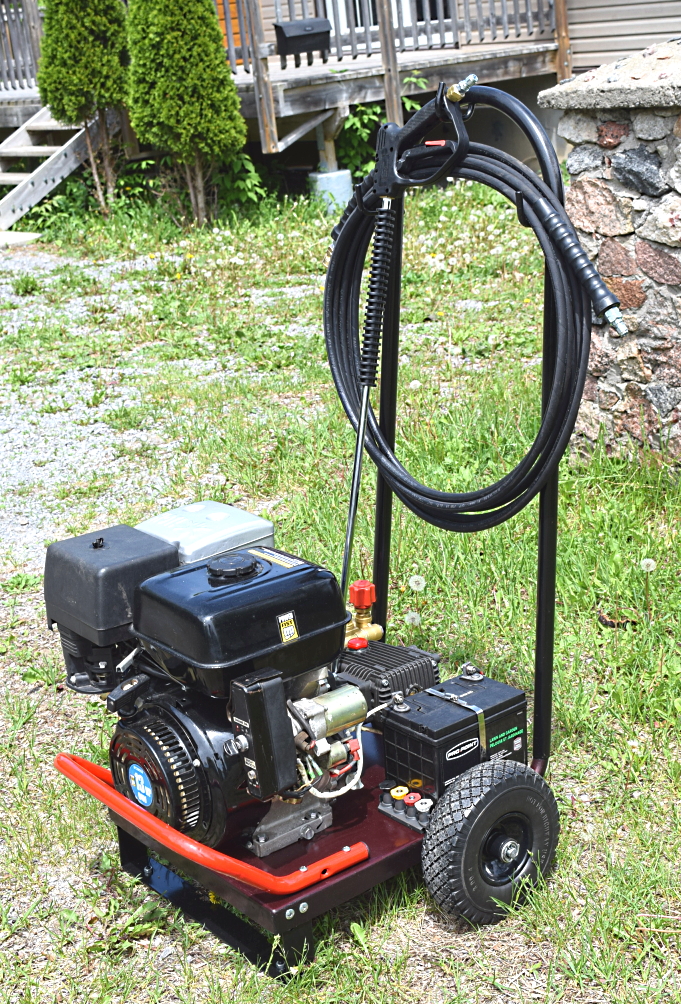
As shown in some of the previous pics, the main handle is detachable (and without fasteners) for easy car transport or storage under a bench or staircase, etc.. It will not come off with normal use, as it takes a few wiggles and vertical jerks to remove it.
During the first test, I tried the pull starter and noticed that it wanted to lift the machine off the ground, which was easily solved by putting my foot on the tray, as must be done with most small machines. It was much nicer using the electric start. Another plus? Imagine this scenario:

Of course, you only build the cart, and then assemble all the parts. But, if you have to buy everything new, including the steel, then you won't save anything and might as well just buy one ready made with a full warranty.
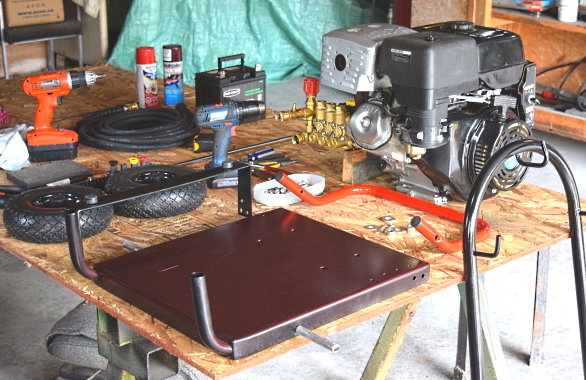
I had bought an electric start 13hp gas engine many years ago, on sale at Princess Auto, to use in my next Sawmill. Also on a super sale then, was a discontinued 4200 psi washer pump, which they have now replaced with a 4000 psi one.
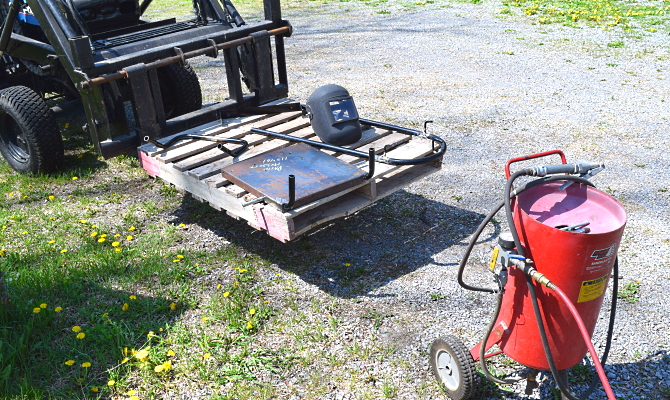
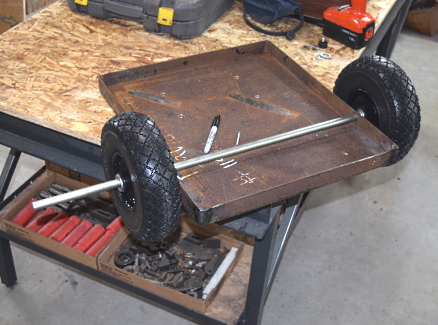
The 18"X20" 14 gauge plate, I had "bent up" then too, (by a local shop) for the base of my next Personal Transport. I had wheels and all of the steel on hand, bits and pieces of bent tubing, from various devices and machines and from an old spare log holder rack.
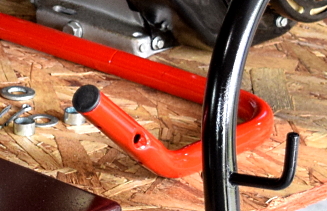
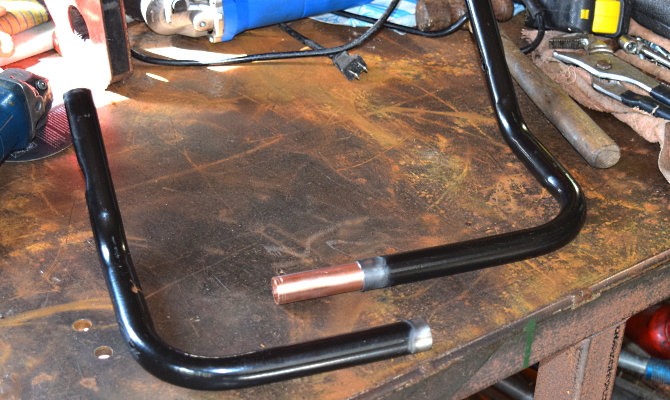
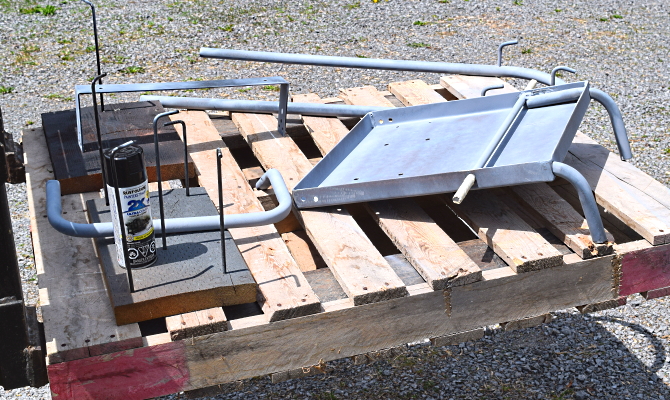
Below, parts finished and ready for assembly. I ran out of Black paint so I used what I had on hand, "Apple Red" for the front Bumper Handle and "Deep Maroon" for the deck top. (cans in the background) You can just make out the battery mount "slit" and the four Bumper Handle holes, giving it two mounting locations. I used the back location - bottom pics.
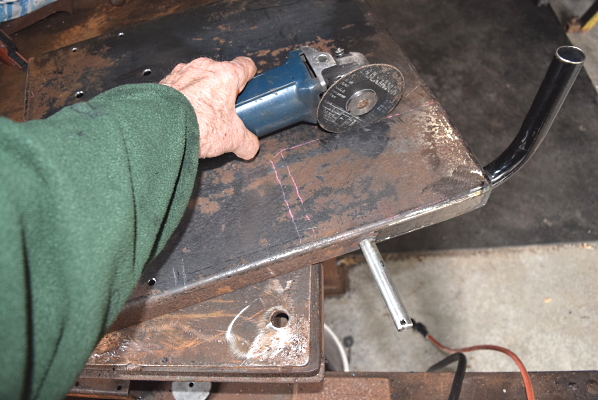
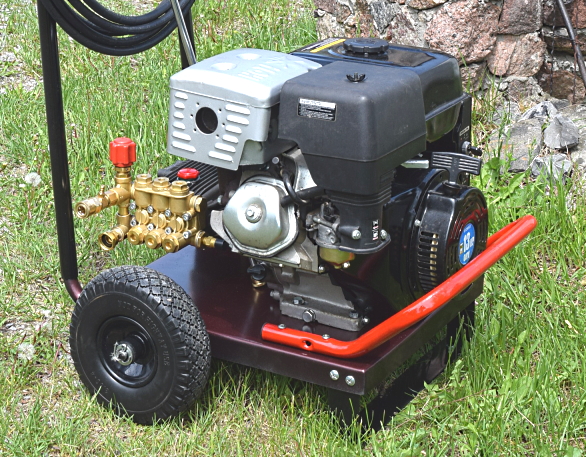
Most small engines have the pull start handle facing left or right from the factory but they can all be changed by removing three bolts, rotated, then reattached using three of the six bolt locations. My handle faced right, so I rotated it left (CC) so the handle faces up, as you're standing over the washer. Then the centre label was removed with a heat gun and reapplied.
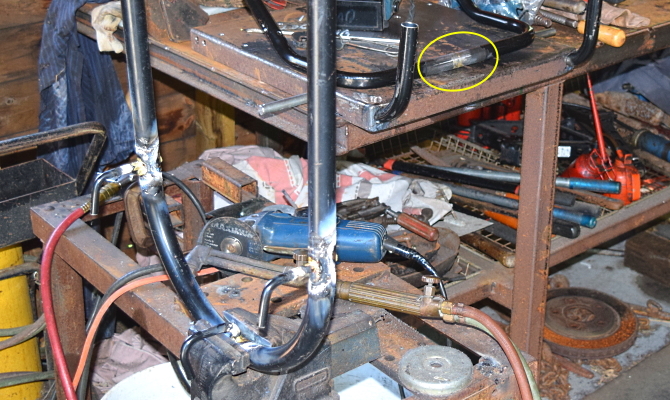
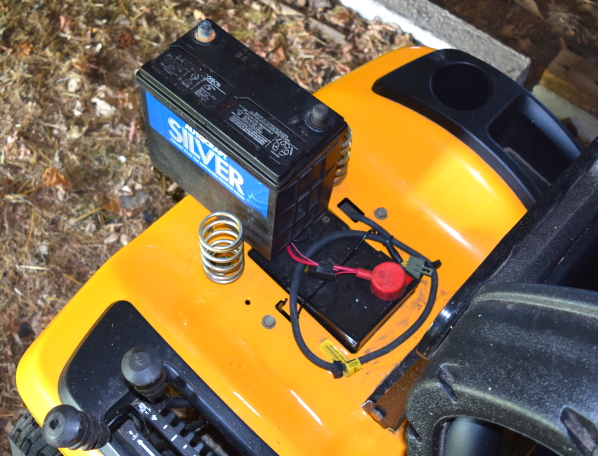
Below shows the spot for the U1 (lawn & garden) battery I bought at Princess Auto for $50. (CDN Tire had their U1 for $50 too) Although all U1 batteries are about the same size (L-7¾", W~5¼", H~7¼") there are other batteries with similar widths but much longer and higher, like my old, dead, SP-45 (Silver) above with a similar width but at 9" high and 9½" long, it could never fit into my Cub Cadet mower, but would easily fit into my battery area. Although almost double the weight, it (had) ~double the CCA. (Cold Cranking Amps) and could easily start a car.
Instead of building a box or tray with a hold down clamp, device, etc., and then limited to that exact size battery, I wanted a super simple slick way that could also adjust for some size differences - so I just cut a slit in the base with a thin cut off disc. It took just a minute and "le voilà" - done. The battery is held in place with a large stainless hose clamp, going through the slit. TIP If you don't have a hose clamp long enough, you can put two (or more) together, (as you can with Zip Ties) just make sure you don't overtighten it.
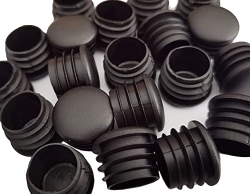
Below right shows a close-up (from above pic) of the plastic end cap, giving a finished, professional look. Years ago I bought several bags from Amazon, of various sizes that fit several pipes and tubes that I had in stock.


or use Browser's Back Arrow
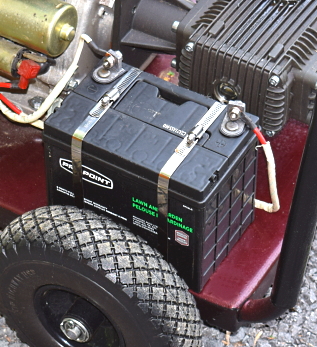
When running at full pressure, the vibrations tended to turn the battery a bit, so I just "cut in" another slit in the tray (painted it) then added another hose clamp. Works perfectly with the added advantage of distributing the clamping force over a larger area.
It's often better when securing anything, especially over a distance or length, to use two clamps than one. Similarly, two bolts or screws are better to prevent loosening from the torque or twisting around a single point or centre.
"I had to jump start my car (or riding mower) with my pressure washer!"
The first step is to establish if something is possible, then probability will occur.
Elon Musk