


Build A Basement Workshop
A home workshop can mean something different to different people, from a bench in the basement with a few basic tools, to a separate building with every tool imaginable. Some of these buildings are more sophisticated, and even larger, neater, and cleaner than the home beside them and the choice of full time craftsmen. Of course, it takes more land, can be expensive to build, heat or cool and can raise property taxes. A basement shop solves these problems, provided that you have sufficient floor space and a high enough ceiling.
With efficient space management it's amazing the projects that some resourceful craftsmen can build and create in a surprisingly small space.
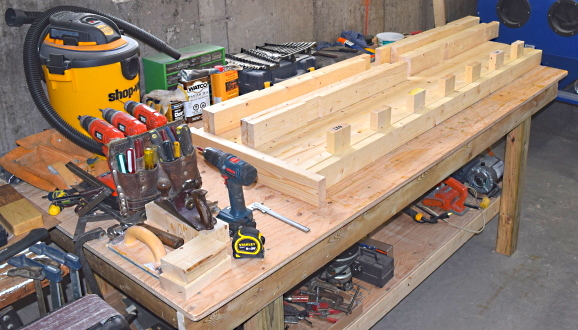
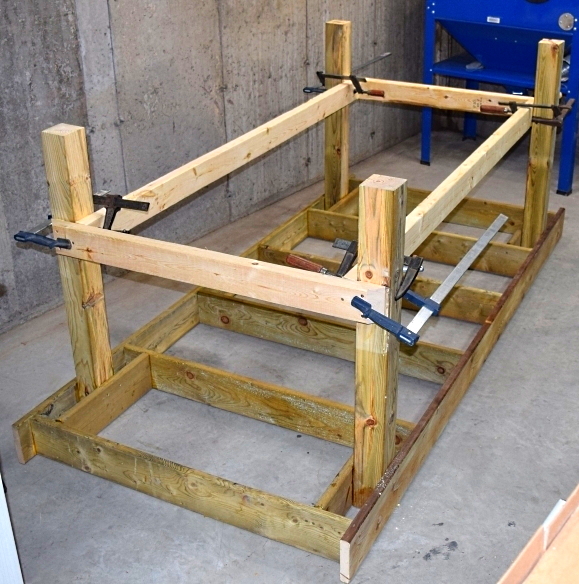
One of the first things to build is a work table. This one is made from leftover deck and post lumber with some 2X4 studs.
The work table is used to build a carpenter's clamping workbench. This one is made from ordinary 2X4 spruce studs. Total finished cost was less than $100.00
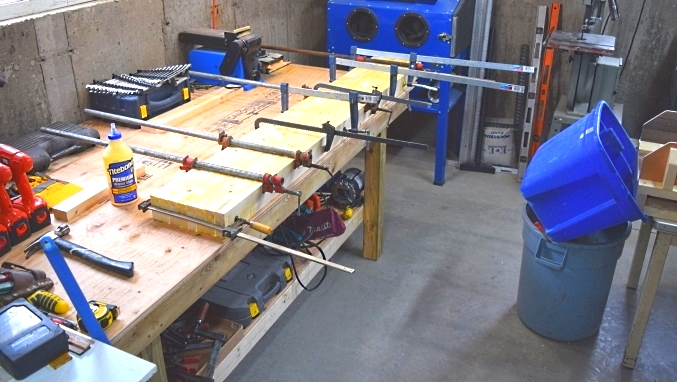
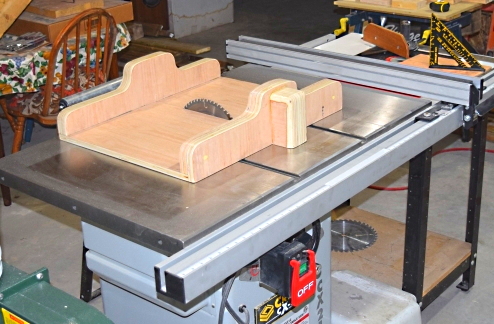
The workbench is placed behind the tablesaw to also act as an outfeed table. It is 1/8" lower than the saw table to allow cut material to easily feed onto it but high enough to stop the rails on the sled before the blade goes through the sled's front, which also has a safety block installed.
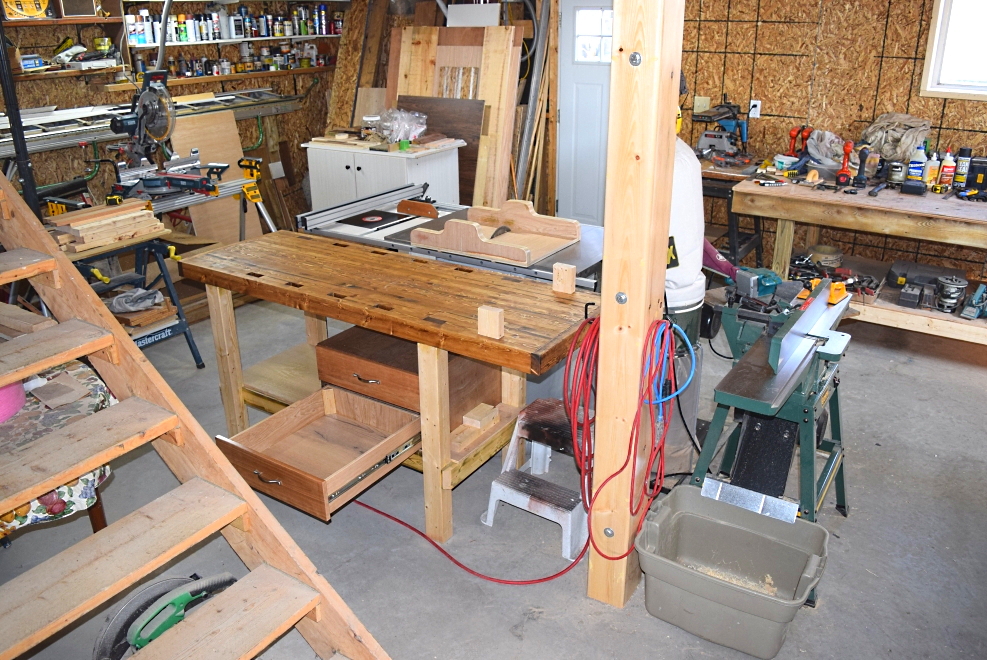
The legs and bottom shelf have a single coat of varnish (water base polyurethane) for protection from dust and dirt stains. The top has two coats of Danish Oil which also gives it a darker stain. Tung oil would give similar protection and also bring out the grain, but it is clear and would have given a lighter finish, similar to the legs.
Two stop blocks are set into the bench top slots for illustration and are normally stored underneath.
The rails for the two drawer unit came from Amazon and the bottom drawer is open to illustrate its depth and easy reach access.
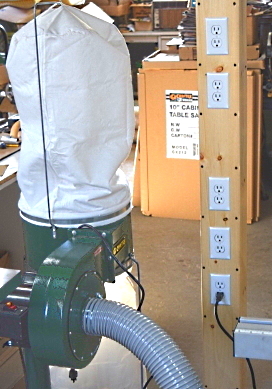
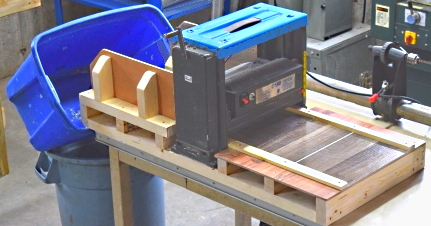
Since the green jointer does not have a vac hose outlet I find that a container at the bottom of the shavings chute, works well.
My home built planer table worked well at reducing snipe and the pails were good at catching the chips.
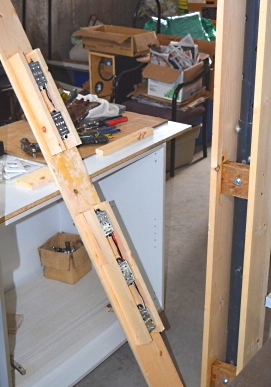
My simple table saw sled works well for holding and cutting small pieces. Much more elaborate sleds can be made.
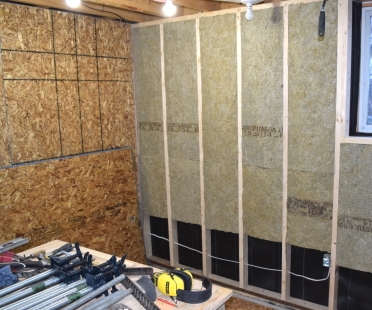
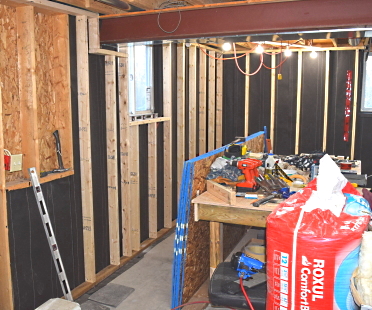
The benches and tools had to be moved away from the concrete foundation so the walls could be lined with tar paper. Then the studs were added, insulated with ROXUL R14 (now called ROCKWOOL) and covered with Super 6 vapour barrier and sheathed with 7/16" OSB.
"When all you have is a hammer, everything looks like a nail."
Abraham Maslow
"Give me six hours to chop down a tree and I will spend the first four sharpening the axe." Abraham Lincoln
Some people view jackposts as obstructions to a completely open basement and opt for floor trusses. There are pros and cons to both systems but I would have needed 36 foot span trusses which would have made them very deep and expensive, raising the height of the floor, adding extra steps to my deck and basement staircases.
If a basement is to be finished with separate rooms, the jackposts can go inside the walls. In my case, with an open workshop, the jackposts become electrical outlet posts with room for accessory hooks on the other three sides. (bottom pic)


my Grok image