


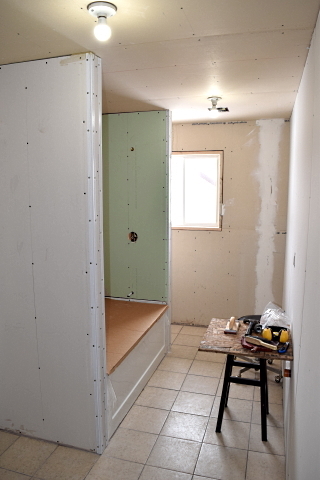
Main Bathroom
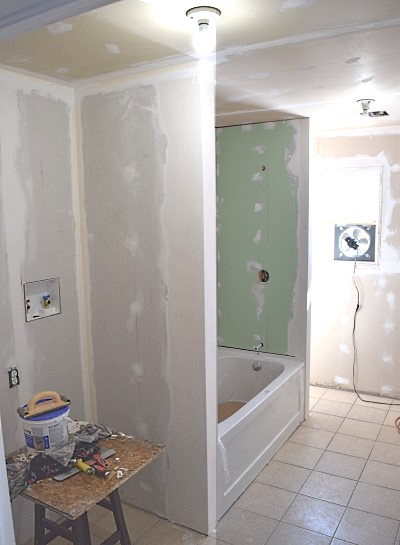
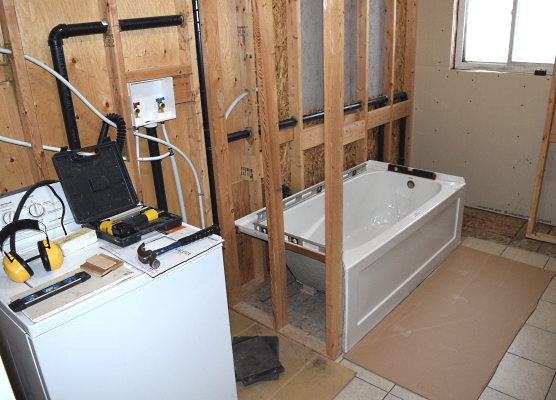
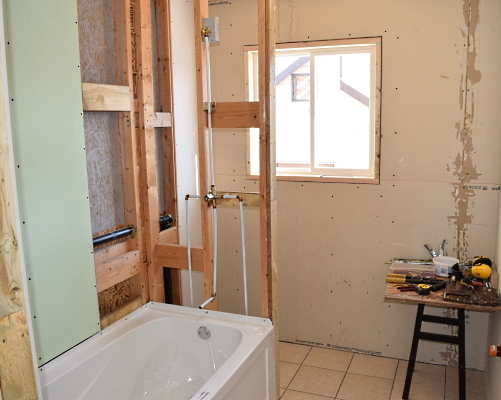
The washer and dryer were removed to the living room, the floor was tiled, then the washer brought back in for some laundry and removed again. The bathtub was installed, leveled, plumbing added, then drywalled. There is no such thing as waterproof drywall, just moisture and mold resistant, but any material will fail if the job is not sealed properly. Here I'm installing the green drywall 1/8" above the tub. The gap and corners are filled with silicone. The rest is finished with a chemical setting compound powder (Durabond, CertainTeed 90, etc.) that is mixed with water. The surface is then primed and painted with several coats of high quality acrylic paint and left to cure. It is now waterproof and could even be used as is, but with a proper tile job and waterproof sealing grout, it should last for many years, as jobs I did many years ago, have lasted.
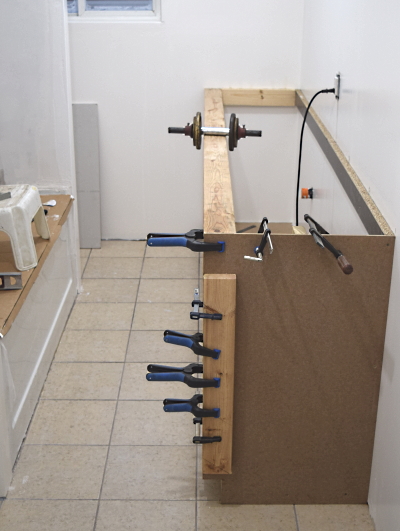
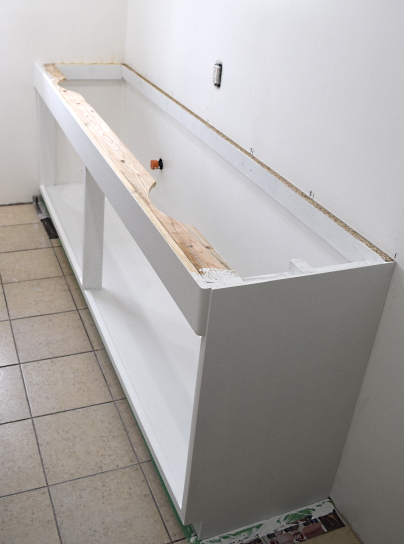
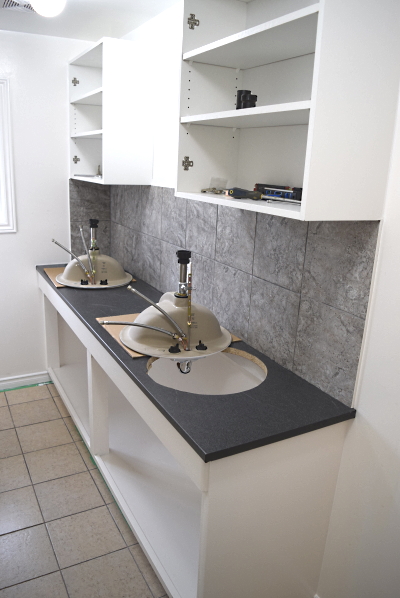
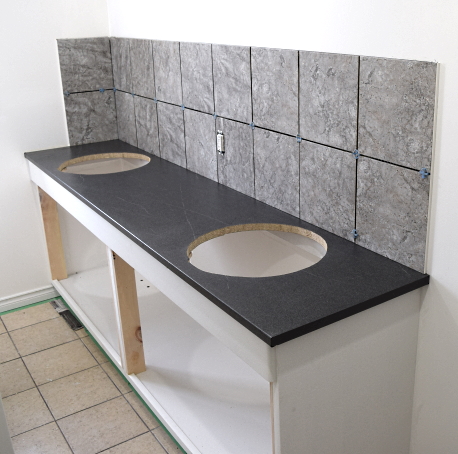
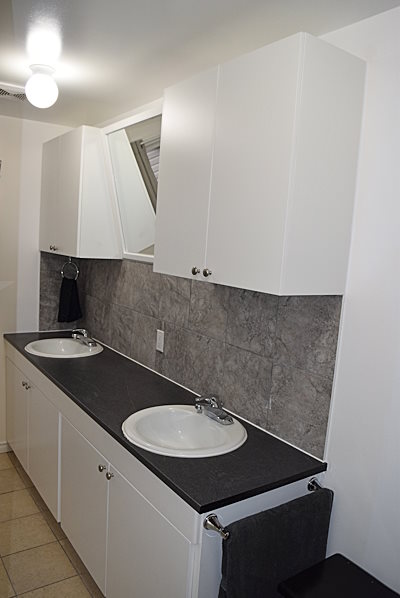
Since I wanted a custom vanity, 20½" X 8' I had to build my own. The black 3" wall piece was cut from the 25" countertop to make it 22", as narrow as possible and still fit the sinks. I used 1/4" Masonite for the floor and end side. I also glued them to 1/2" plywood to make the four doors.
It turned out much better built and more solid than anything you can buy in the stores.

I didn't have enough extra wood to build the two 30" X 30" cupboards, and the 2021 prices made it more feasible to just buy them ready made (with "soft close" hinges) from Lowes. Tip - if you're buying "soft close" hinges for existing "regular close" doors, they could be strong enough that you may only need to replace one hinge per door, therefore costing half as much.
I found that two "soft close" hinges were too strong and closed too slowly. One "soft close" and one "regular close" hinge per door, closed at just the right speed.
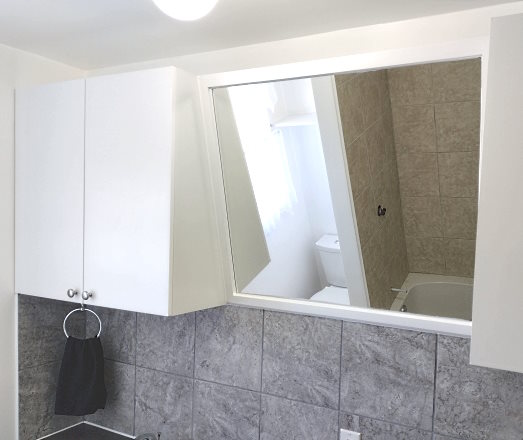
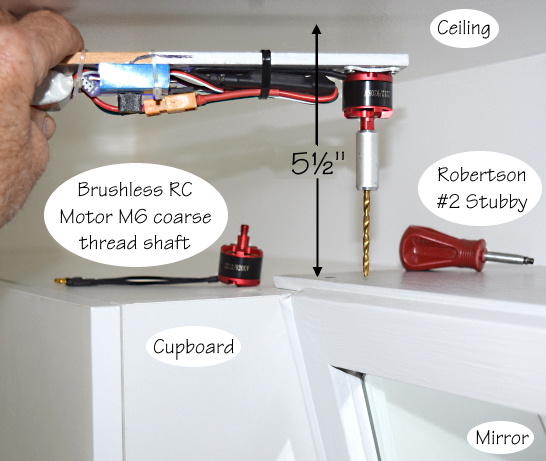
I custom built the mirror frame (right). Since it was mounted on top of the tiled splash (two feet above the three foot high vanity) the bottom of the mirror was over five feet high, so you would have to be over 5'8" just to see your face. By tilting it forward 15°, anyone from ~ 4'8" to 7'8" can easily use it.
If installing your own and you wanted even shorter people to see themselves, just tilt it to ~20°.
"People should pursue what they're passionate about. That will make them happier than pretty much anything else." Elon Musk
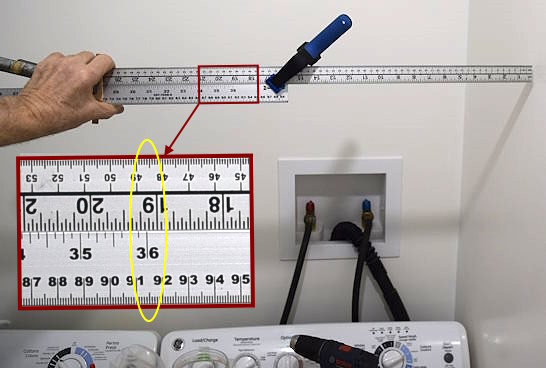
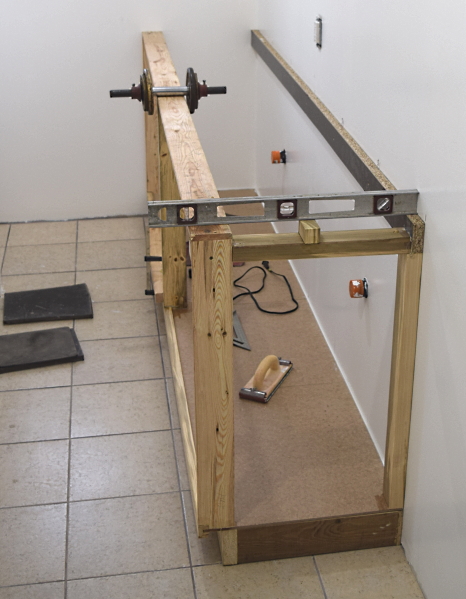
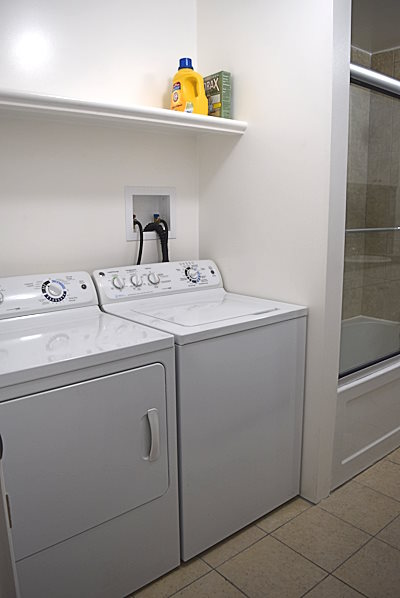
If you have two yardsticks, here's a way to accurately measure the distance between two inside walls - for the installation of a custom made shelf above the washer and dryer. Just add 36" + 19⅛" to get 55⅛".


Build A Vanity